Creating, Editing and Deleting Tasks
Creating a Task
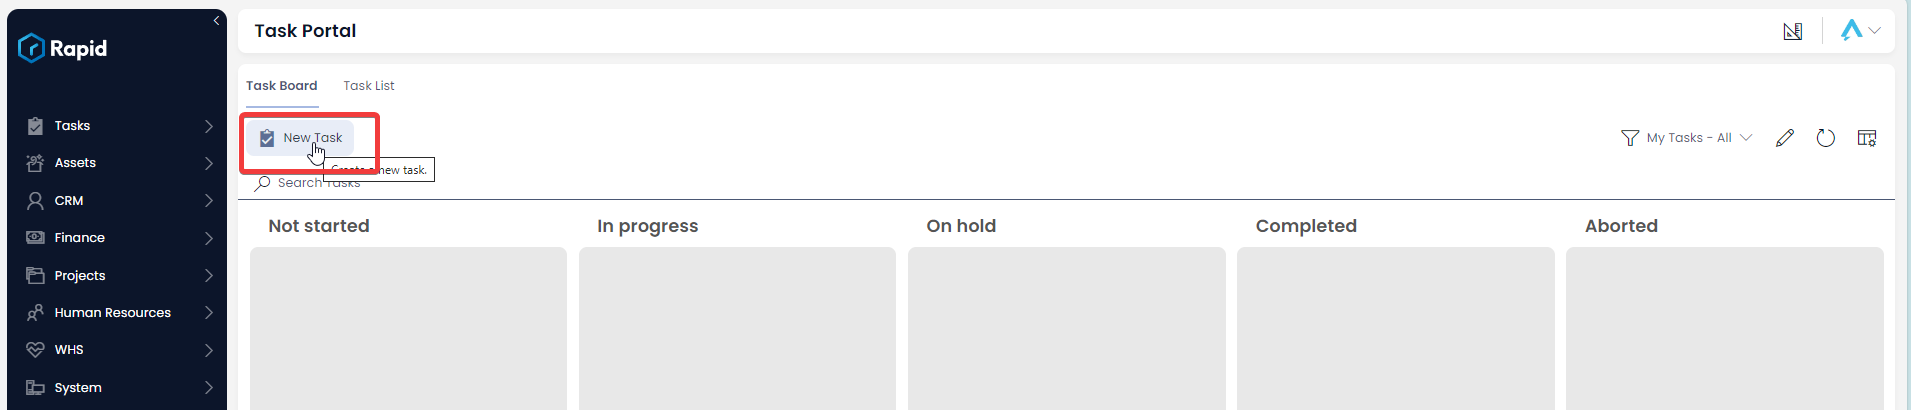
- On the sidebar select Tasks > Task Portal

- Select the Task Board or Task List tab

- Click New Task
- Enter the relevant details.
The “Assigned To” column will determine whose task list this will appear in. You can assign a task to a “Role” such as “WHS Team” and any members of that team will see the task in their task list on the “My Tasks” view.
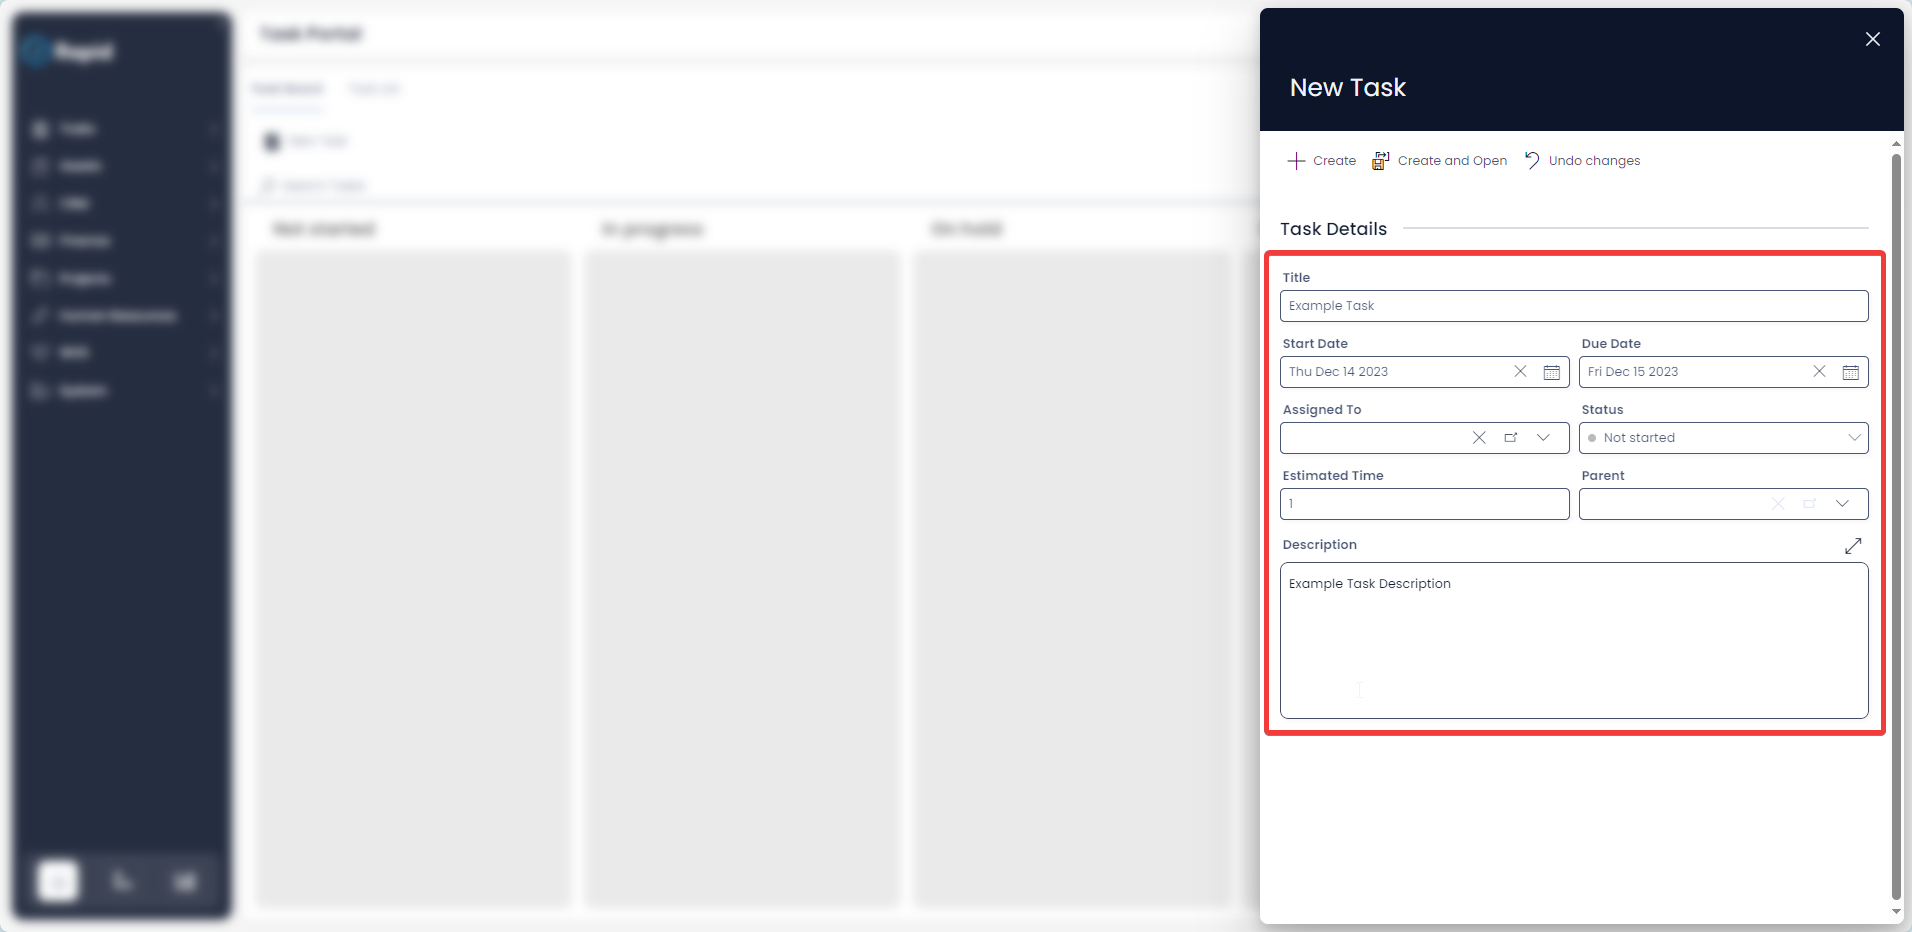
- Click on Create or Create and Open

Editing a Task
- On the sidebar select Tasks > Task Portal
- Select the Task List tab

- Click on the title of the task you wish to edit

- Edit any relevant fields on page as needed
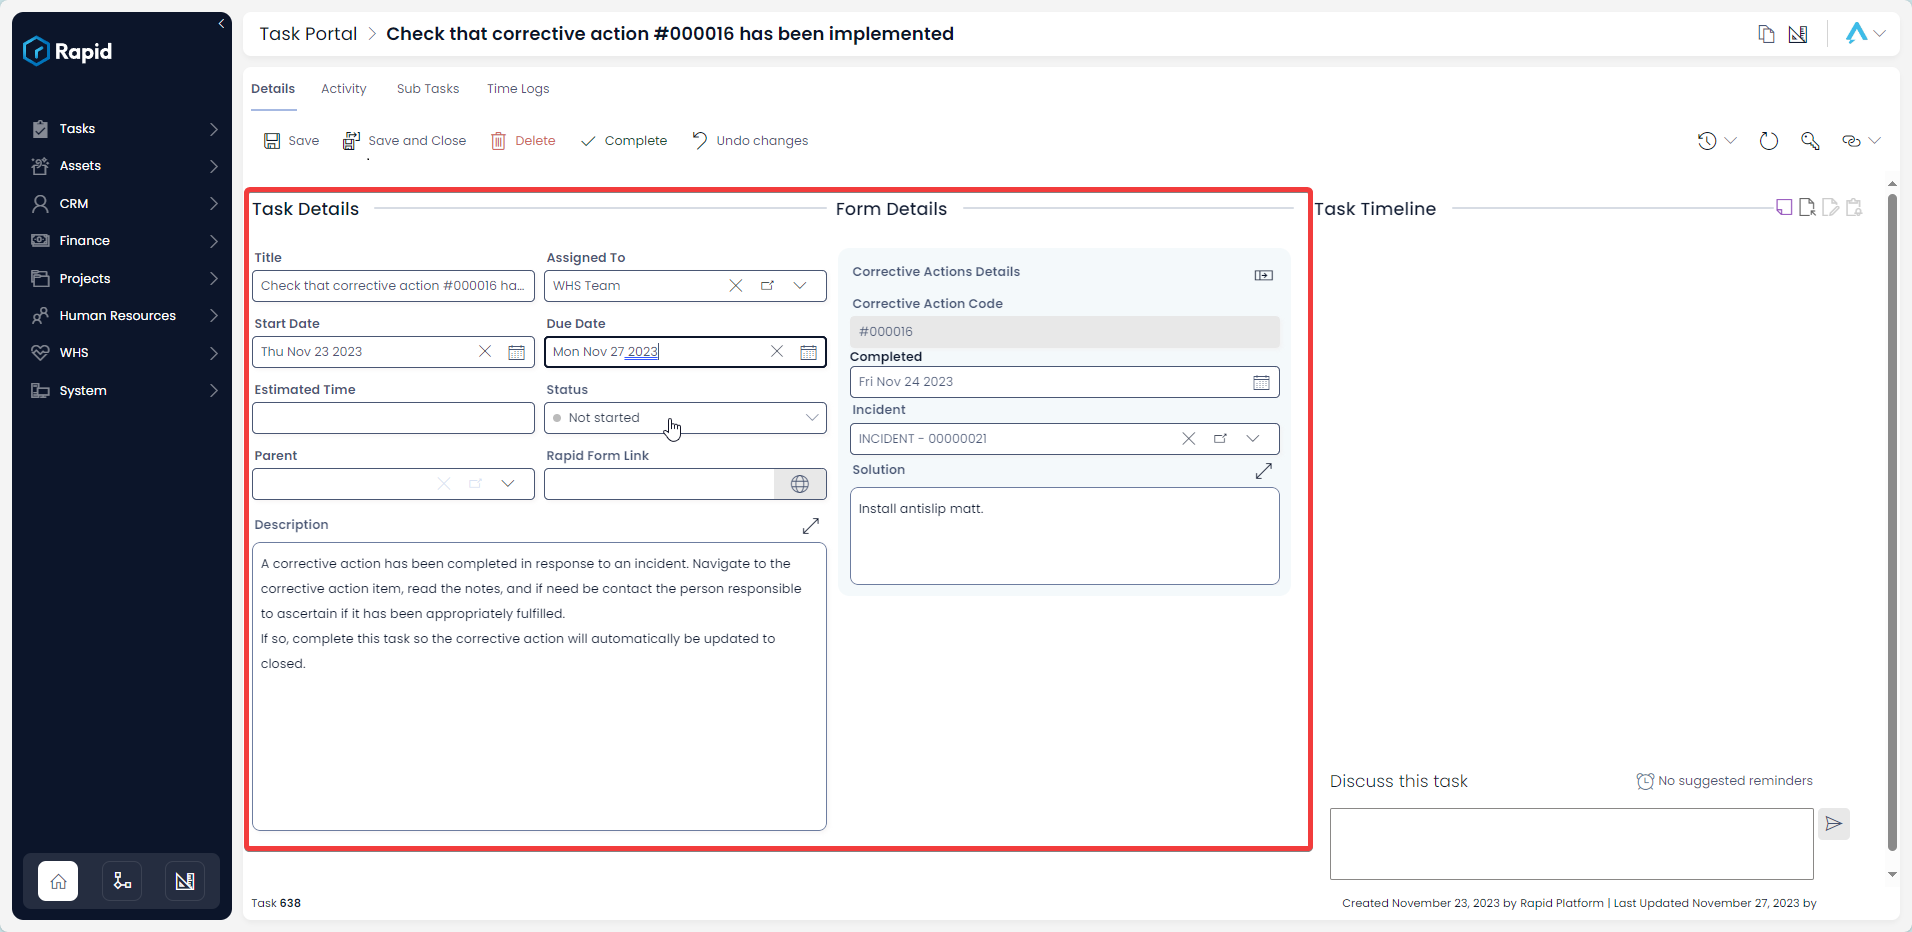
- Once you have finished editing, click on Save or Save and Close

Completing a Task
Changing the "Status" Choice Field
Each task in Rapid contains a Choice field labelled Status. To complete a task:
-
Open a Task in Explorer. (This process is explain in the previous section).
-
Click on the Status field to open its dropdown menu.
-
Select Completed
-
Save your changes

Using the Complete Action Button
When viewing an Item's page, there will be an additional button in the Command Bar labelled "Complete". This button has an icon of a checkmark.
Pressing this button will set the Status choice field to "Completed", and will also save your changes.

Deleting a Task
It is not recommended to delete a Task if it has been abandoned; instead, change its status to Aborted.
However, if you need to delete a task due to incorrect data entry or a duplicate entry, you can do so in two ways: from the list or from the item page. Deleting from the list allows you to delete multiple Tasks at once.
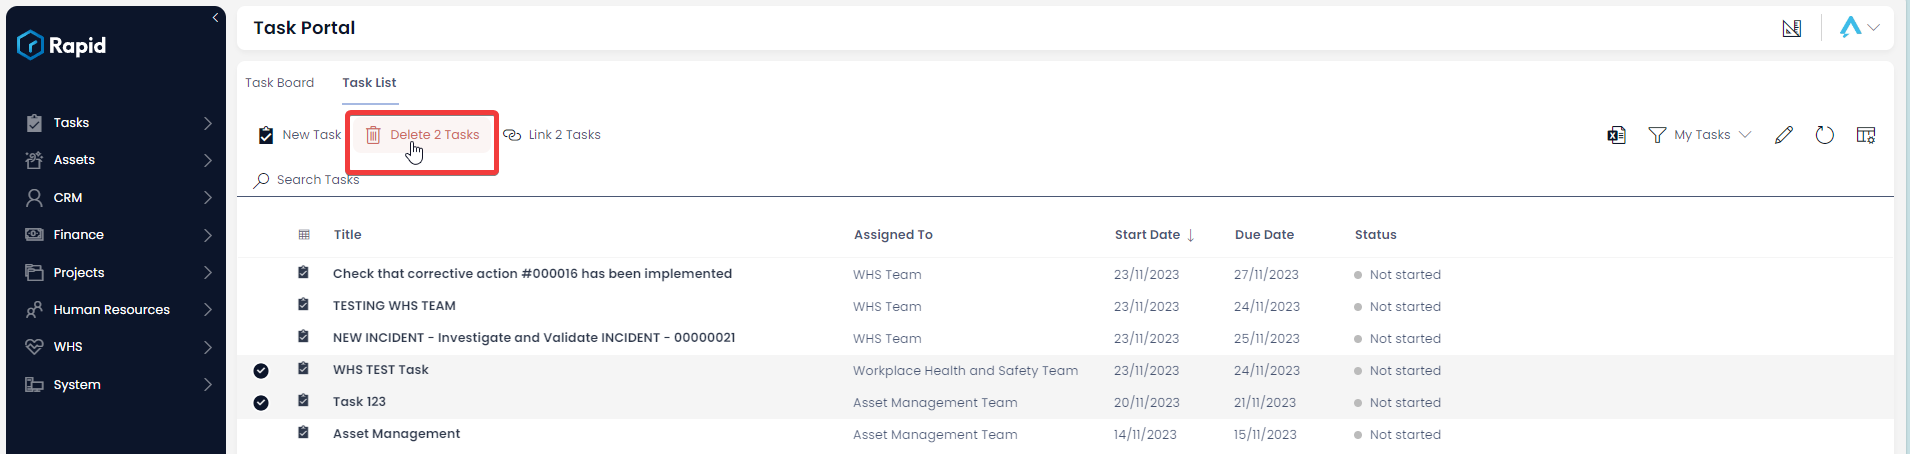
Deleting a Task from the Tasks List
- From the Task List, select the tasks you wish to delete
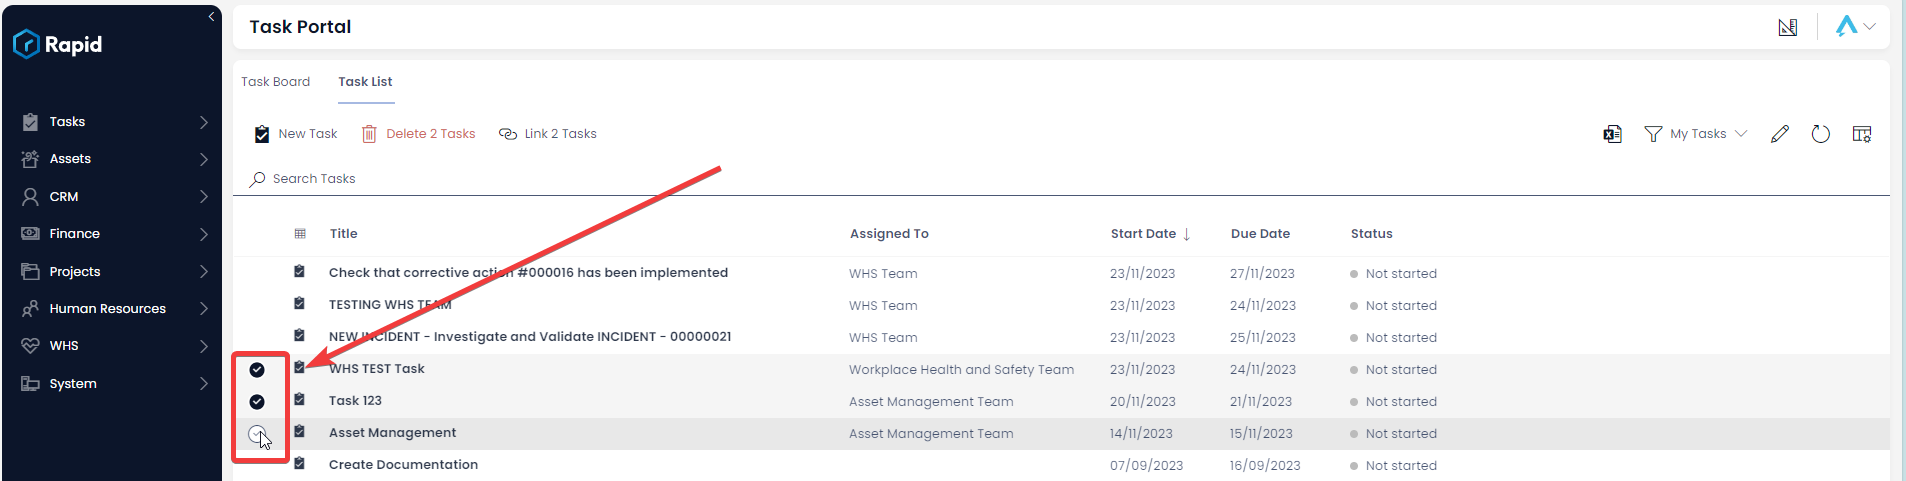
- Click the Delete button
Deleting a Task from the Task Page
- From the Tasks Page, click on the title of the task you wish to delete
- Click the Delete button
